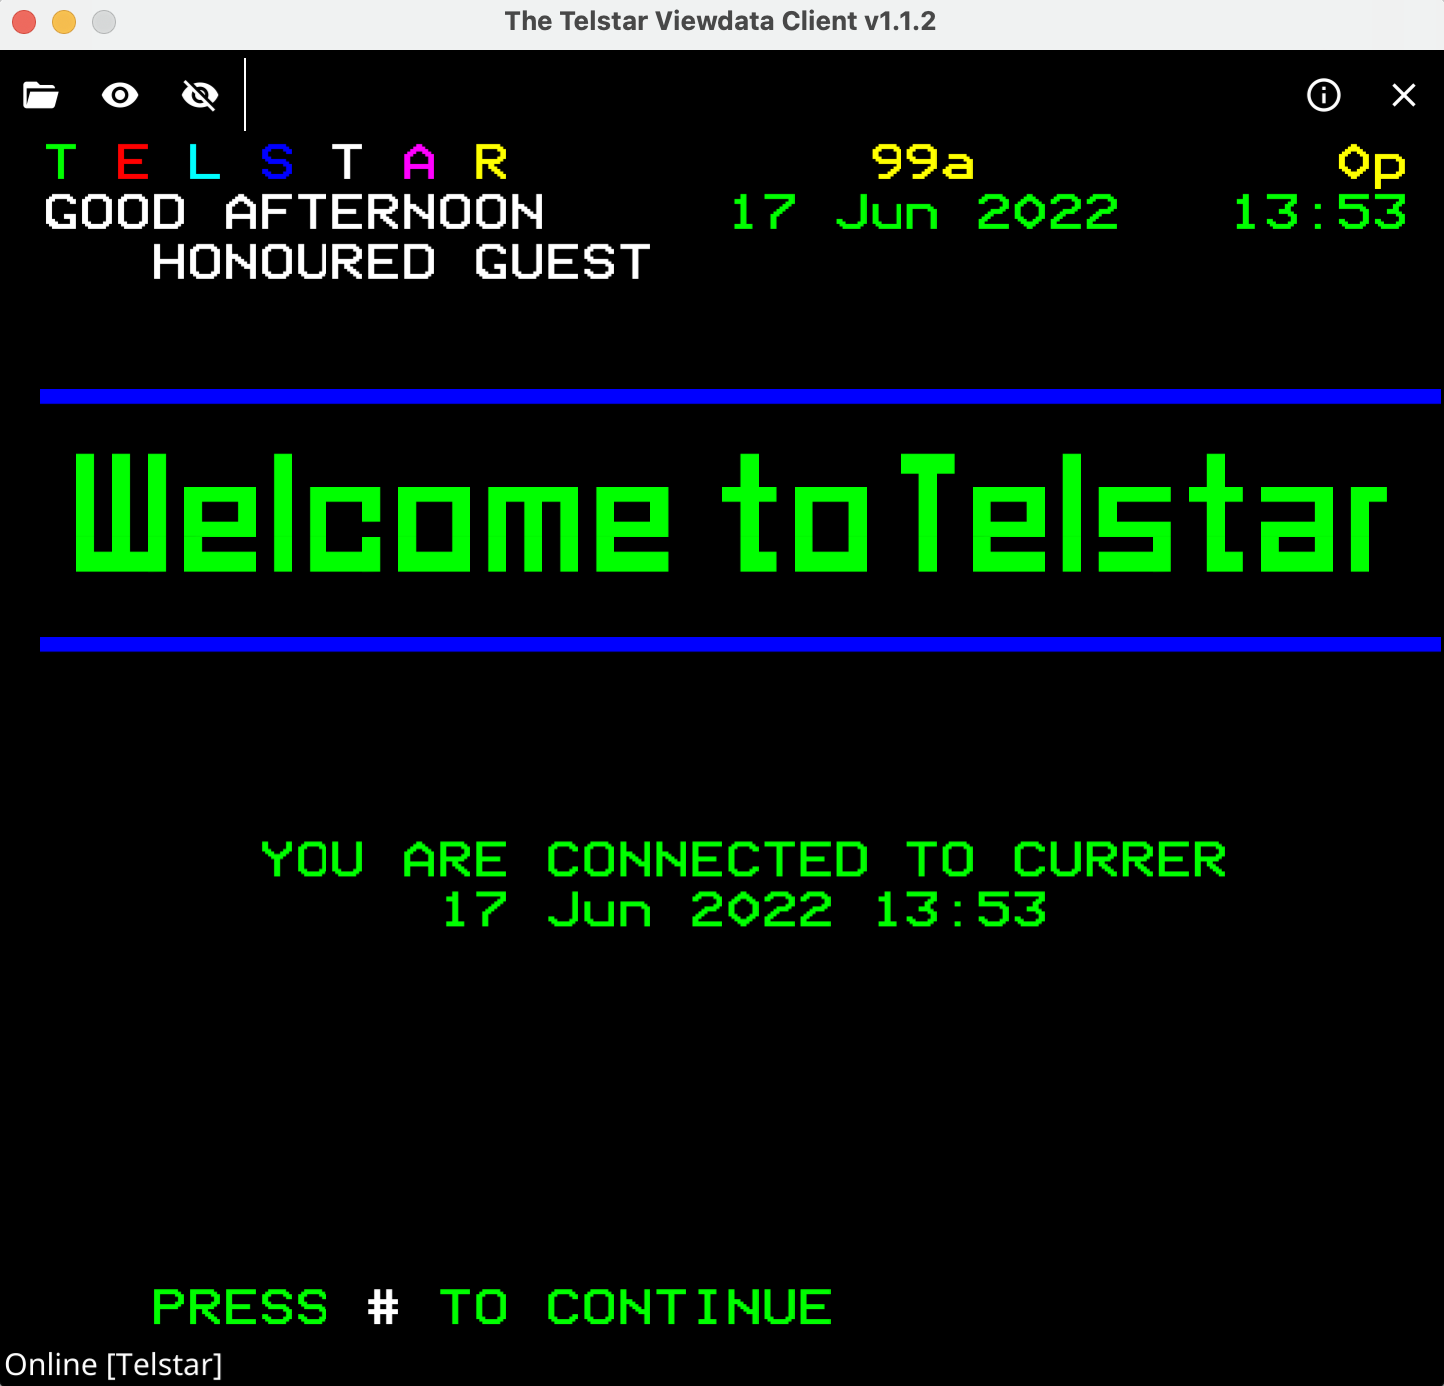
Telstar Viewdata Client
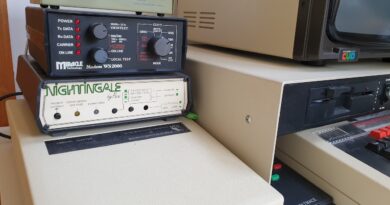
To experience Telstar properly it needs to be accessed by a microcomputer or Viewdata Terminal from the 1980s. However, for a simple way to get started, the Telstar Viewdata Client can be used.

The Telstar Viewdata client is available for Mac, Linux and Windows and has no dependencies, It allows access to viewdata systems through either a direct TCP/IP connection or via a Modem connected to a local serial port.
- Linux (amd64)
- Linux (arm64)
- MacOS (arm64)
- Windows (386)
- Windows (amd64)
All versions of the telstar-client are available here https://github.com/johnnewcombe/telstar-2/releases. The software was originally written to test Telstar and will attempt to connect to Telstar when it starts. However this behaviour can be changed, see below. The client uses a small ‘connection file’ to determine the system it should connect to and these are simply loaded as required. These are supplied with the above package or can be downloaded separately.
Examples of connection files for NxTel, TeeFax, CCF4, EOTL and Serial connections. can be found here https://github.com/johnnewcombe/telstar-2/tree/main/telstar-client/connection-files
Installation
Installation differs slightly between platforms, however, in each case extract the file(s) from the downloaded archive and follow the platform specific installation instructions below.
MacOS
The extracted telstar-client.app bundle can be run from anywhere. However, this would typically be placed in the applications folder. Simply double-click the bundle to launch the program. To connect to other services see Connection Files below.
Linux
Once the files have been extracted execute the following command from the folder the files were extracted to. Note that a .tar.gz contained in the downloaded .zip file will need to be extracted also.
$ sudo make installThis should install the software as follows
install -Dm00644 usr/local/share/applications/telstar-client.desktop /usr/local/share/applications/telstar-client.desktop
install -Dm00755 usr/local/bin/telstar-client /usr/local/bin/telstar-client
install -Dm00644 usr/local/share/pixmaps/telstar-client.png /usr/local/share/pixmaps/telstar-client.png
To connect to Telstar, simply select the telstar-client from the distributions menu (other) or run the telstar-client from the command line e.g.
$ telstar-clientA shortcut should also be available in the ‘Other’ menu group. To connect to other services see Connection Files below.
Windows
Extract the files and double click the telstar-client.exe file.
Connecting to Services
The software will connect by default to the Telstar Viewdata System, however this can be changed through the use of connection files.
Each supported service is defined in a .yml file e.g. nxtel.yml and each file is commented which should make it simple to create new files as required. The filename can be selected using the Open toolbar button or specified on the command line as detailed below.
Command Line Parameters
The binary file can be launched from the command line (to use the command line when using MacOs, it is necessary to navigate into the contents of the app bundle (see Appendix A). Note that when in full screen mode both the Status bar and Toolbar are automatically hidden. To exit the application simply enter ctrl-Q.
$ ./telstar-client -h

Usage of telstar-client:

  -address string
        Endpoint definition file e.g. Telstar.yml.
  -debug
        Outputs debug information to standard output.
  -full-screen
        Full screen mode (experimental).
  -no-toolbar
        Hides the toolbar and status line.
  -startup-delay int
        Delays startup of the application.
  -text-size float
        Text size, can be used to resolve display issues [default 23].
For example to connect to NxTel on startup simply specify the connection file. e.g.
telstar-client -address=nxtel.ymlBelow is an example TCP connection file for Telstar.
--- # Endpoint definition for the Telstar Viewdata System

# name: Used as a display name for connection dialogues.
name: "Telstar Viewdata System"

# address: Address details for the service to connect to.
address:
  host: "glasstty.com"
  port: 6502

init:
  # telnet: If true, sends the IAC DO-SUPPRESS_GOAHEAD some systems
  # may need this. In the case of Telstar, this will disable the
  # 1200 baud simulation from the server and run the system at full
  # internet speed.
  telnet: false

  # initchar: Some systems need an initial character or characters
  # to be sent e.g. 0x5f (Hash) to detect a connection.
  initchars: []
Below is an example serial connection file for Telstar.
--- # Endpoint definition for the Telstar Viewdata System

# name: Used as a display name for connection dialogues.
name: "/dev/ttyUSB0"

# serial: Serial port configuration details.
serial:
  # port: serial port to use e.g. "COM1" or "/dev/ttyS0"
  port: "/dev/ttyUSB0"
  # baud: Baud rate of he serial interface. Note that this cannot
  # use a split baud rate, therefore when connecting to 1200/75
  # baud systems the modem would typically be configured for V23
  # with the modems serial interface set to a 1200/1200 baud rate.
  # Most modern modems support this.
  baud: 1200

  # parity: When set to true, 7 bit even parity is used otherwise
  # no parity is used. Telstar uses 7 bit even parity for dialup
  # connections and no parity for tcp/ip connections.
  parity: true

  # modeminit: The 'modeminit' string will be passed to the modem
  # after successfully opening the serial port. This field is
  # typically used to send initialisation and dial commands to a
  # connected modem.
  modeminit: "ATDT01756664433"

init:

  # initchar: Some systems need an initial character or characters
  # to be sent e.g. 0x5f (Hash) to detect a connection.
  initchars: []
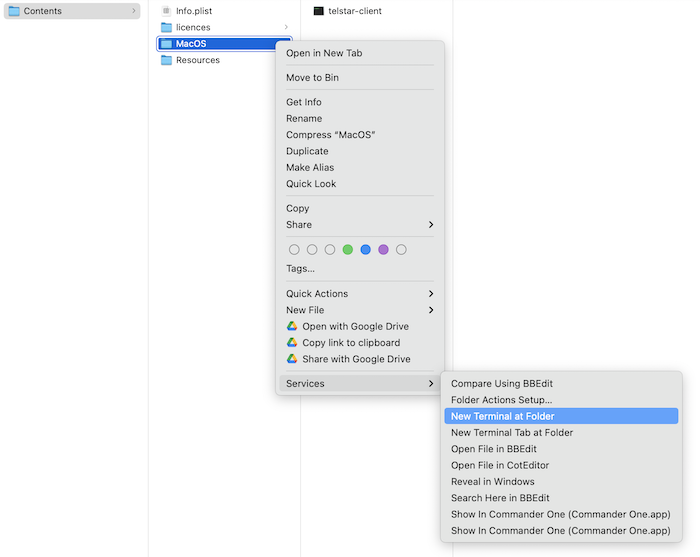
Appendix A – Executing the Telstar Client from the Command Line with MacOS.
To execute the Telstar Client from the command line simple navigate to the .app file with Finder. Navigate to the MacOS folder and open a Terminal session. The Connection Files are stored in the Resources folder.

And use the context menu item ‘Show Package Contents’ e.g.